Bread, Muffins, Donuts and Pastries
Cinnamon Raisin Sourdough
This Cinnamon Raisin Sourdough is easy to make even if you are a beginner! This fragrant cinnamon sourdough filled with
- Serves 12 slices
- Prep 10 minutes
- Cook 45 minutes
- Total 12 hours
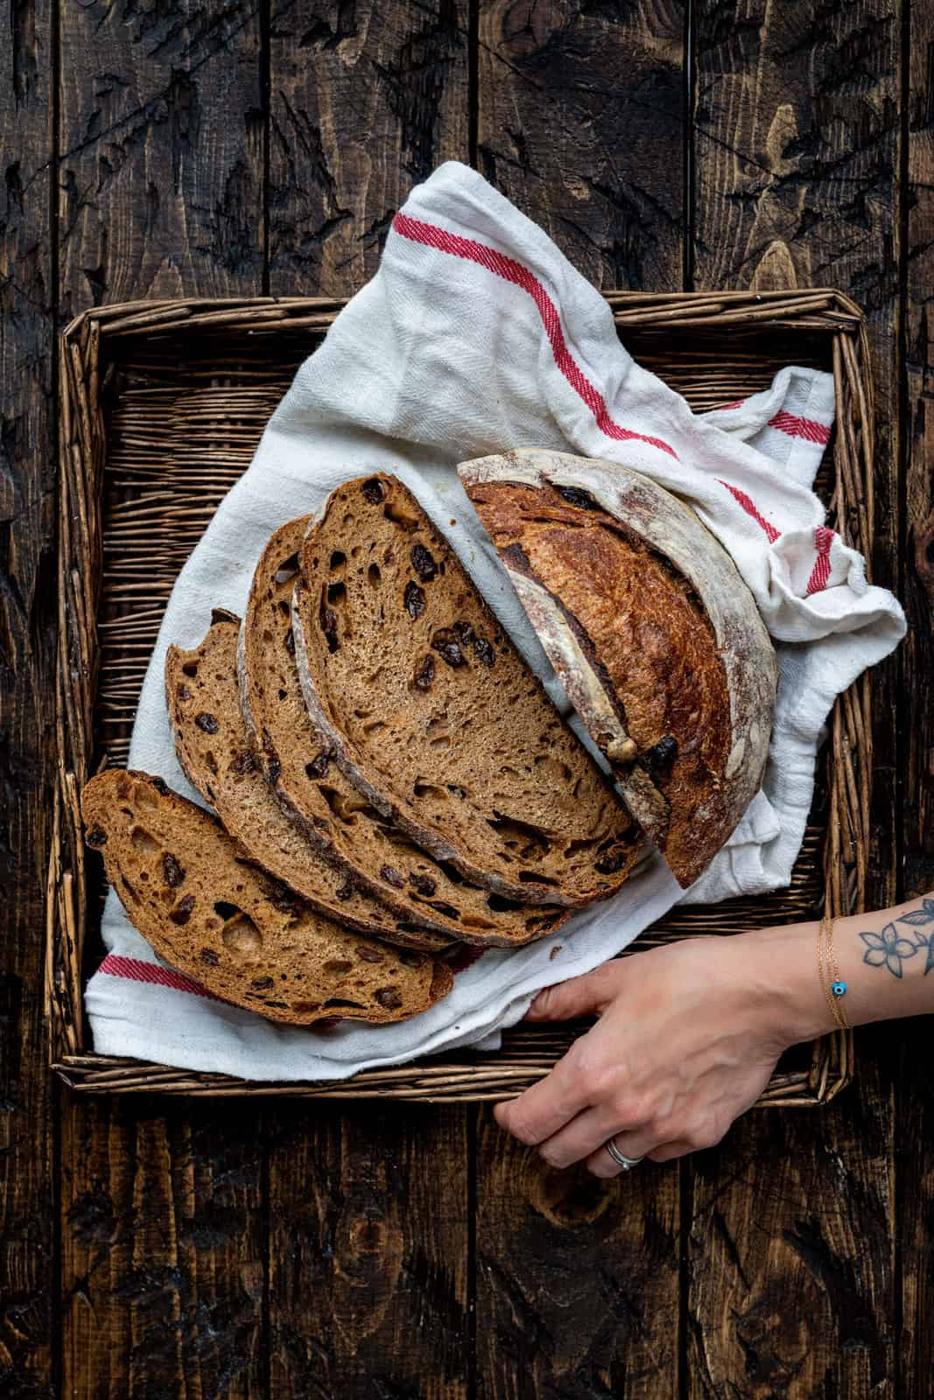
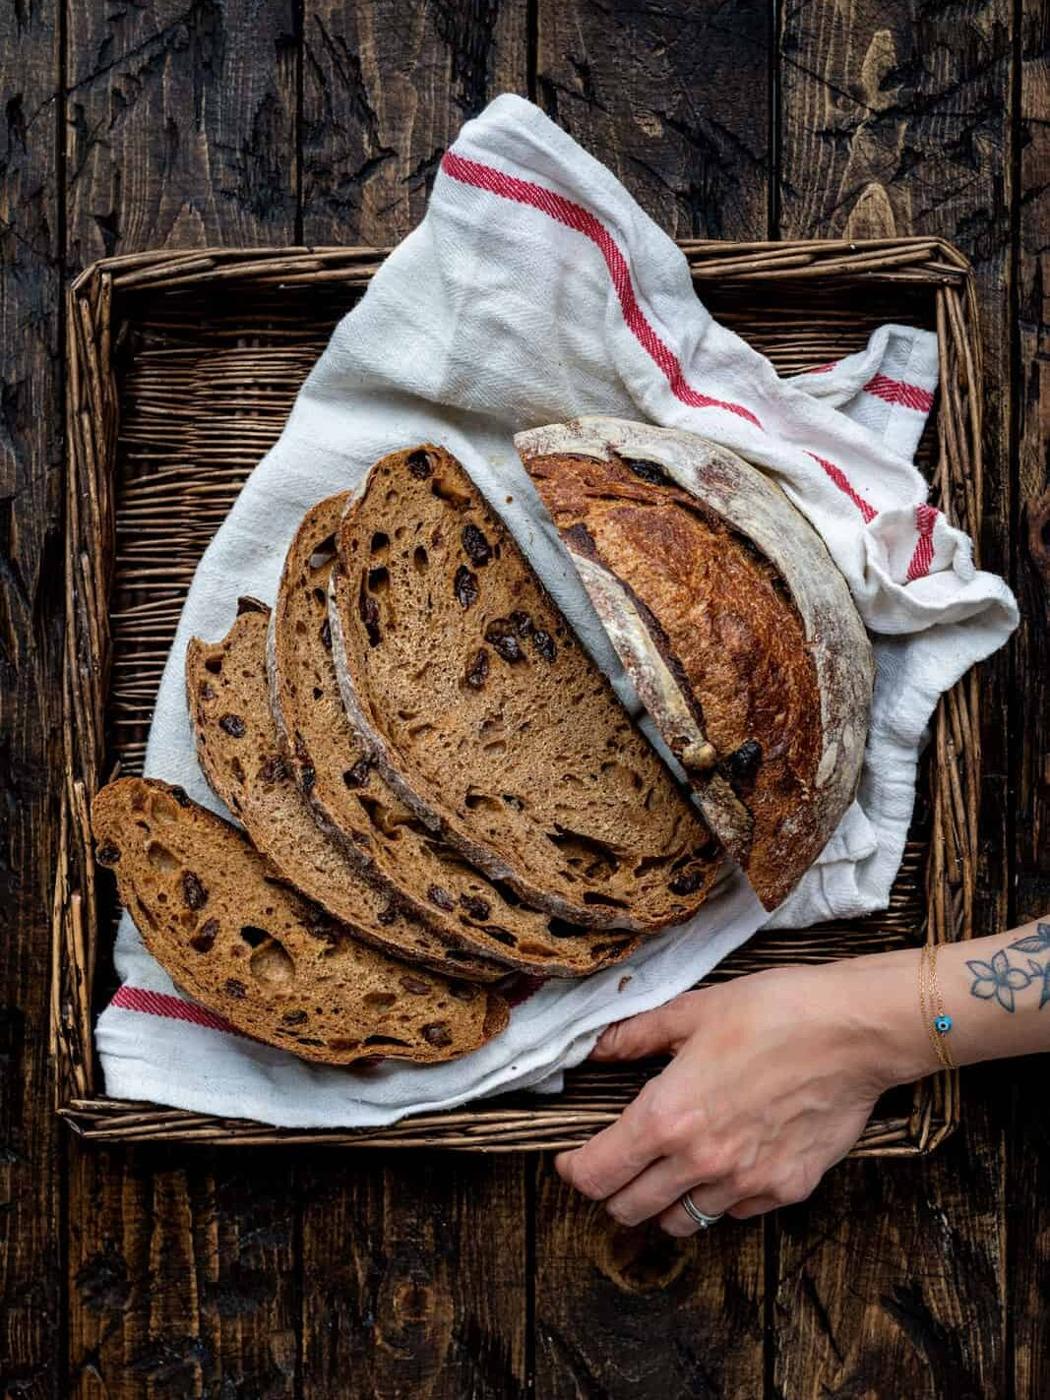
My Overnight Sourdough Bread Recipe has become very popular – I love seeing all your wonderful sourdough loaves on Pinterest and Instagram! This Cinnamon Raisin Sourdough takes the classic recipe on a warm fall walk, infusing it with cinnamon warmth and the natural sweetness of the raisins.
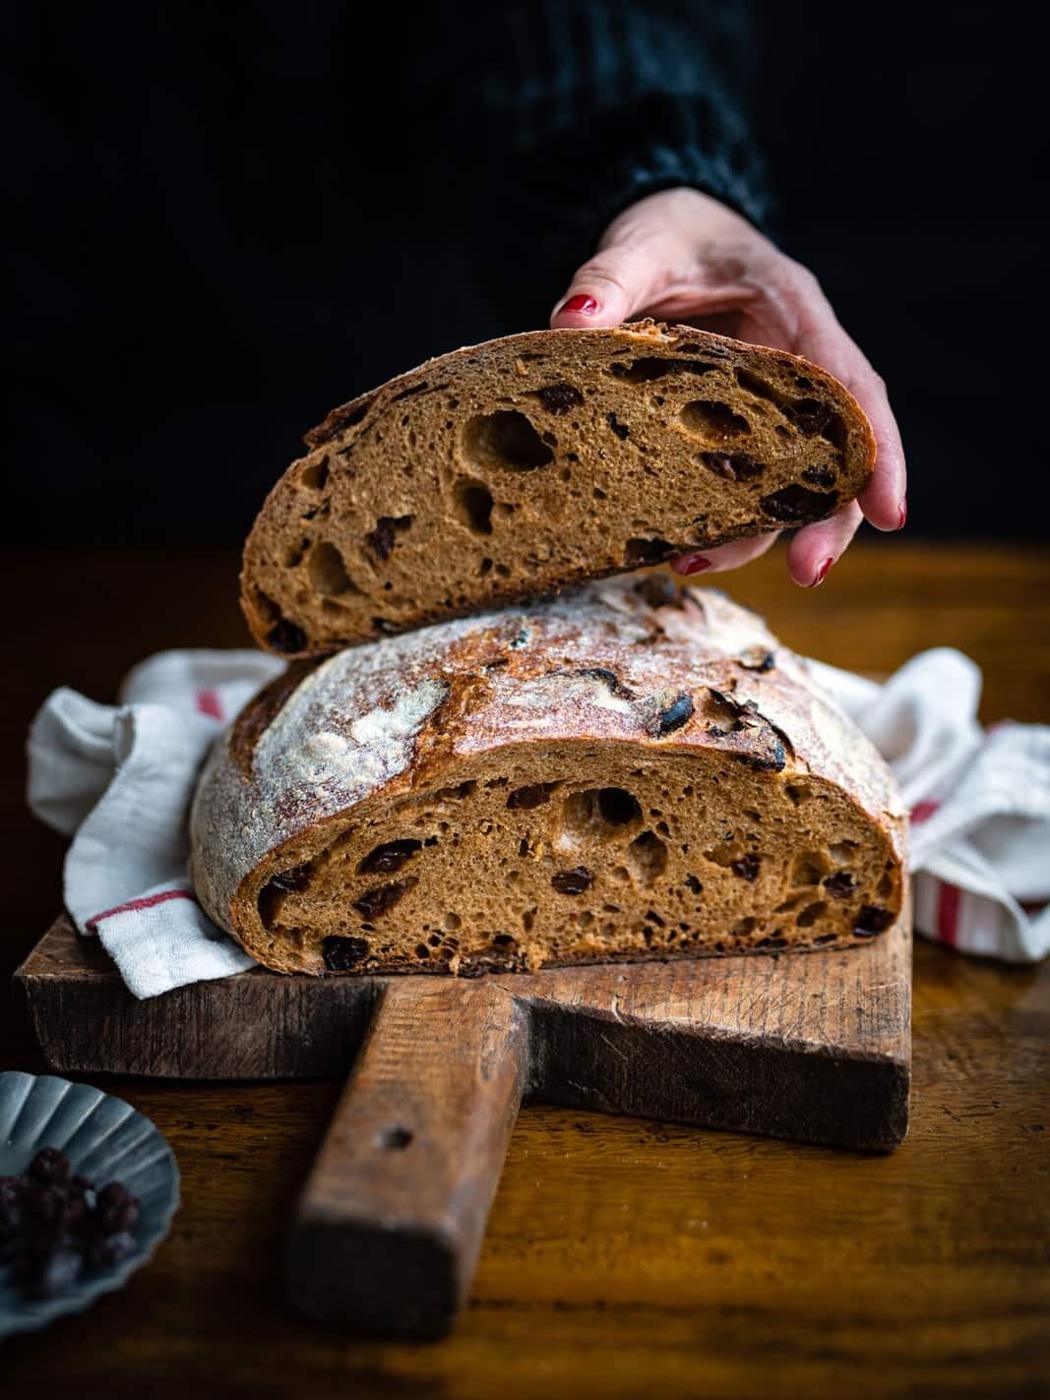
Cinnamon raisin bread has long been a bakery classic, often found as a yeasted sandwich loaf in grocery stores and delis. By combining it with the natural fermentation of sourdough, you get more depth of flavor, a chewier crumb, and better keeping quality.
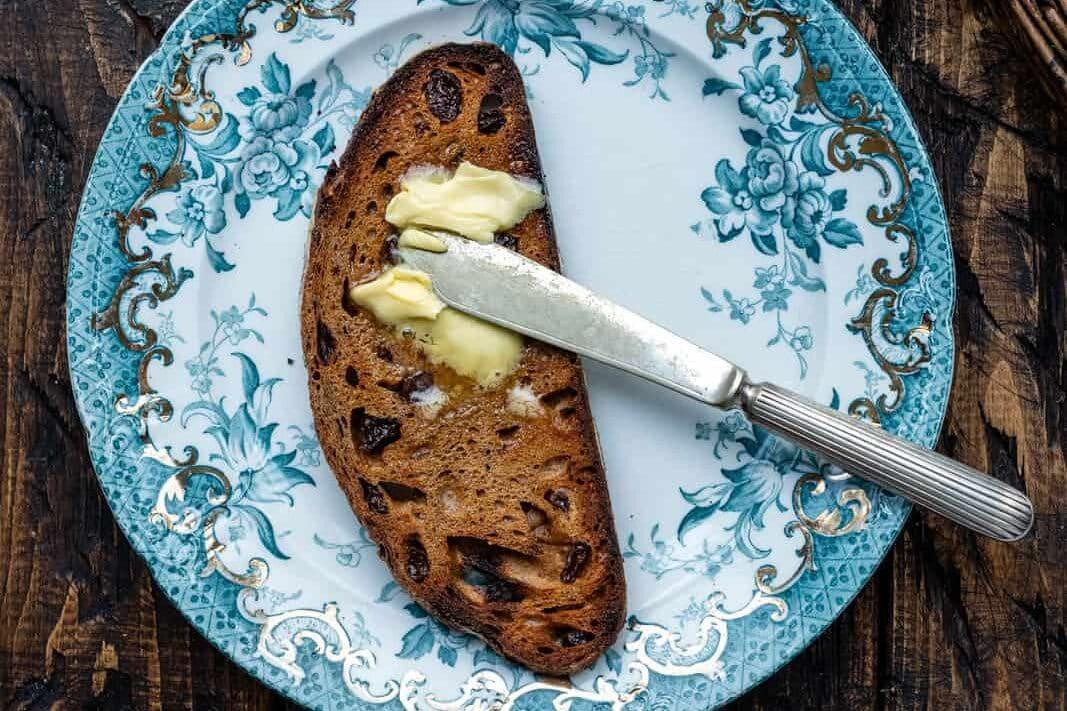
The scent while it bakes is intoxicating and sliced it makes the most incredible toast, especially with a pat of butter melting into those golden, raisin-studded slices. With a little planning (and your sourdough starter), this loaf is simple, rewarding, and endlessly versatile.
Here’s What You’ll Need
Although you need to devote some time to prepare and bake your cinnamon raisin sourdough bread, most of it is hands off and not at all scary or intimidating. As am I writing this the temperature is cool enough to leave the bread to prove at room temperature overnight. If you are making this in the summer I would advise you to prove the bread in the fridge.
- Active sourdough starter (you can buy sourdough starter online if you haven’t cultivated your own)
- Bread flour – bread flour is higher in protein and will give your loaf a better structure. I have used a mix of white bread flour and spelt flour in this recipe.
- Salt, sugar, ground cinnamon and raisings
- Water – filtered, bottled or tap water, boiled and cooled
- Molasses (or a little treacle) adds color and flavor
- Rice flour or gluten free flour for the bowl
Useful Equipment
- Digital scales are very useful when baking sourdough
- Bowl or banneton basket for proving the dough
- Lame, razor or sharp knife for scoring
- A cast iron pot (Dutch Oven) or Bread Cloche to bake your loaf in
- Large jar for mixing your starter
- Spatula for mixing your starter
- Dough whisk for mixing bread dough
How to Make Cinnamon Raisin Sourdough Bread Step-by Step
Make the Dough and Bulk Fermentation
- Feed your starter, leave for 4-6 hours or until doubled in size. To check whether the starter is ready, add a spoonful to a glass of water. If it floats you are good to go. If it sinks it’s not quite there yet!
- Put the active bubbly sourdough starter in a large mixing bowl, add water and mix well.
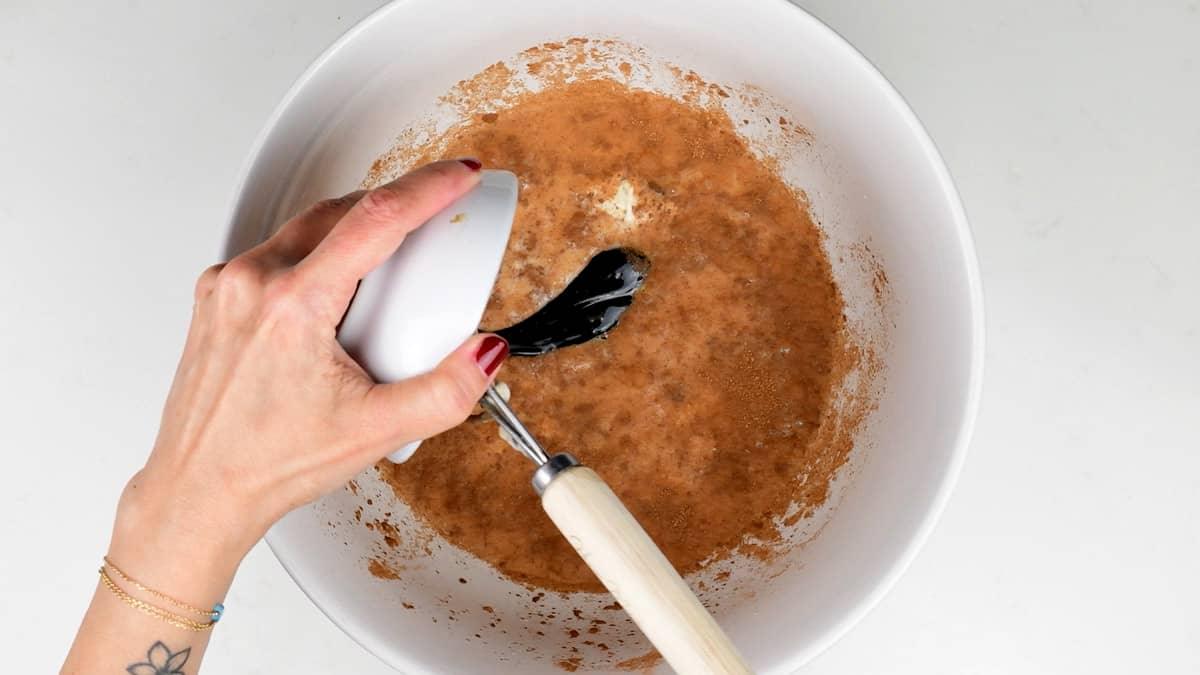
- Add the salt, sugar, cinnamon, raisins and molasses and stir to combine.
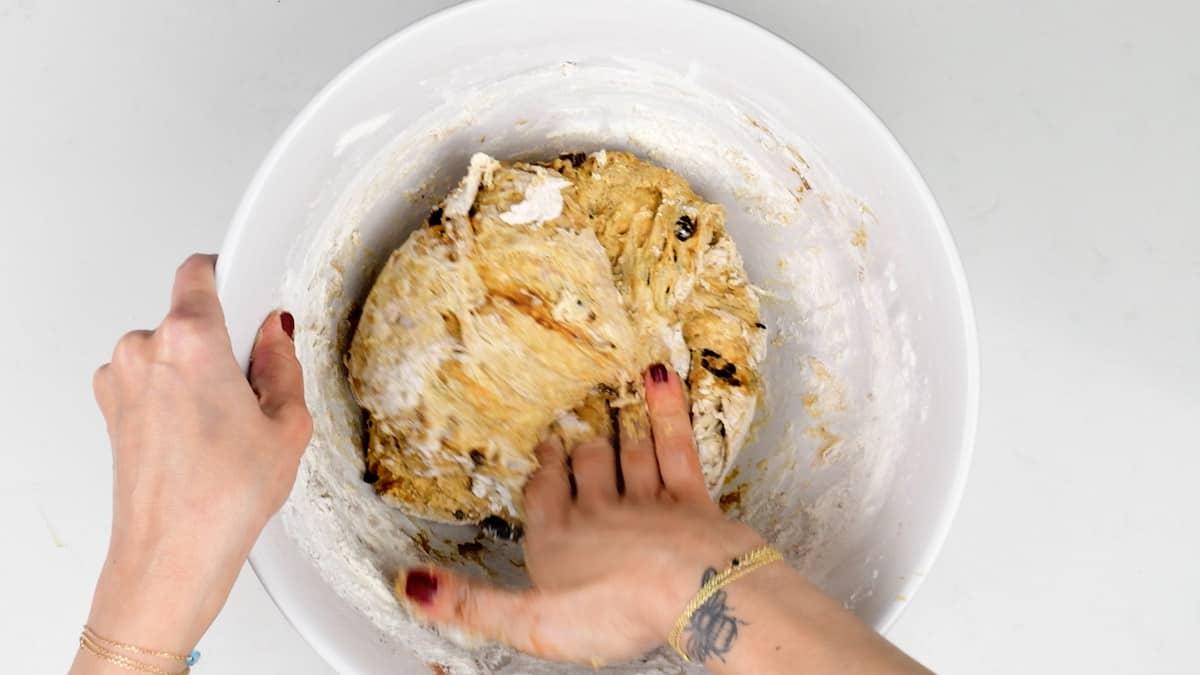
- Mix in the flour, using a dough whisk and your hands, until you have a sticky dough. Make sure all of the flour is mixed in and the dough is well hydrated.
- Transfer the dough into glass pyrex dish misted with a little water, cover and leave to rise at room temperature overnight (this is called bulk fermentation).
Shape the Bread and Second Rise
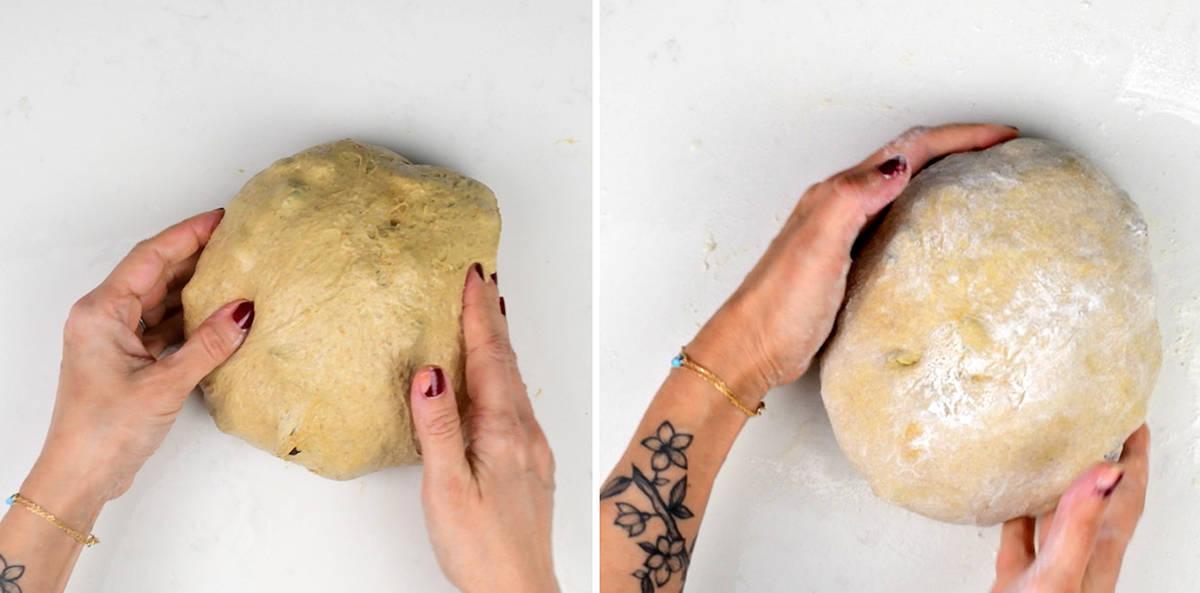
- The following morning check your dough – it should have almost doubled in size. Mist your worktop with water and tip the dough onto it. Gently stretch the dough (do not punch it down) to form a rectangle. Fold into three sections (letter fold). Roll the folded dough into a tight ball.
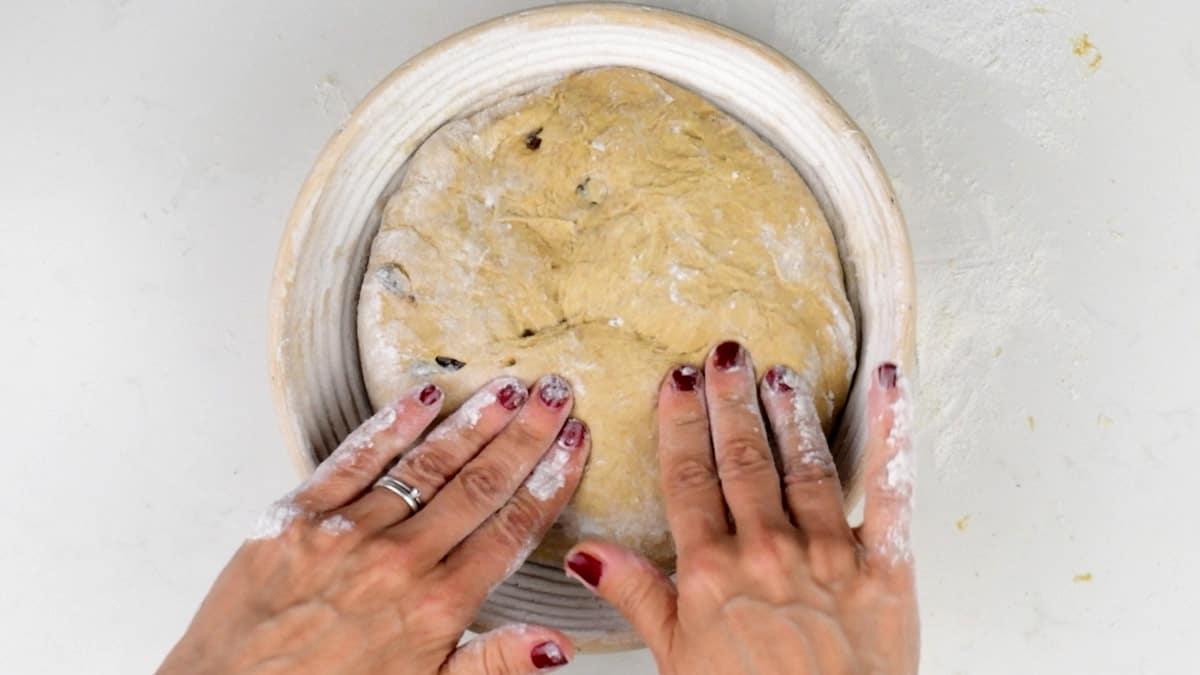
- Flip over, seam side down and push any raisins that are on the surface of the loaf into the middle. Dust with gluten free flour and transfer to a prepared proving basket or a bowl, seam side down. Pinch along the seam to seal if needed.
- Cover loosely with a plastic bag and leave to rise for an hour or until the loaf spring back slowly when prodded gently with your finger. (If it springs back really quickly you need to allow it to rise for a little longer.) Meanwhile, put the your cast iron pot in the oven and preheat to 425°F (250°F) for at least half an hour.
How to Tell Sourdough Is Ready to Bake
1. The Finger Poke Test (after the loaf is shaped and has had its second rise)
Gently press a floured finger into the dough about ½ inch deep:
- If it springs back quickly, it’s under-proofed (needs more time).
- If it springs back slowly leaving a slight indentation, it’s ready to bake.
- If the indentation stays, your bread is likely over-proofed – you can still bake it but it will not rise as much and might be a bit more dense.
2. Volume Increase
Your dough should look noticeably bigger than when you shaped it, usually about 30% in size. It will not double like yeasted bread.
3. Surface Bubbles & Texture
The dough’s surface often has small bubbles, feels puffy, and jiggles slightly when you nudge the basket. That wobble is a great sign of proper fermentation.
How to Tell When Sourdough Is Baked
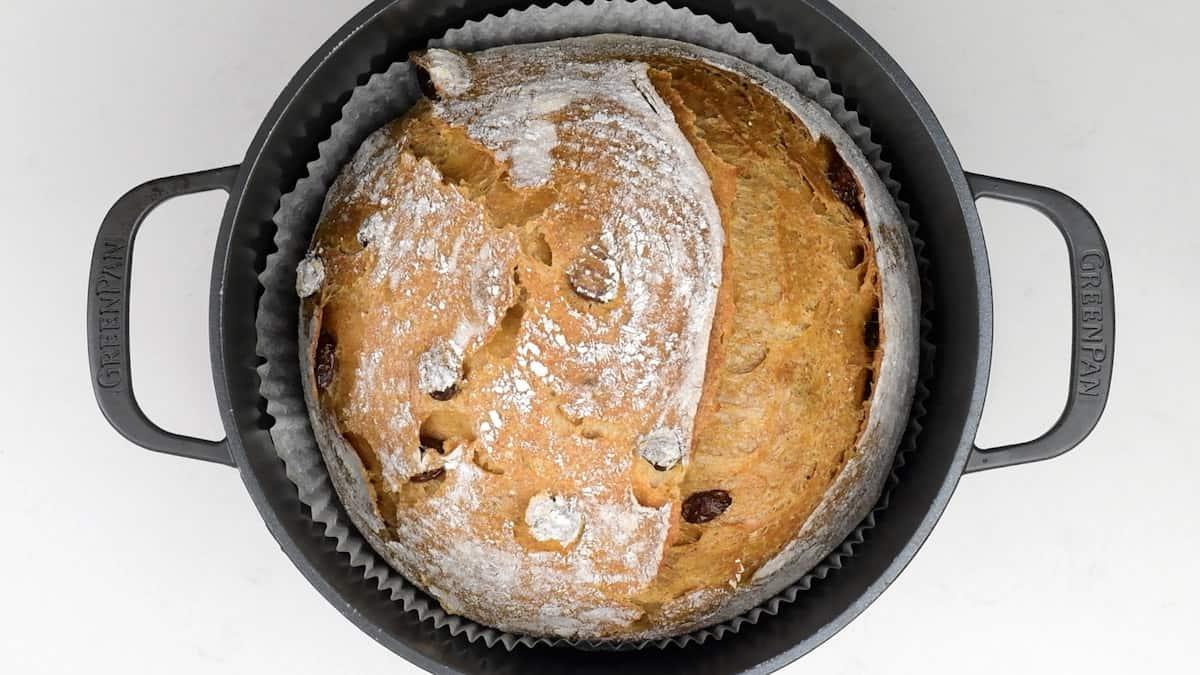
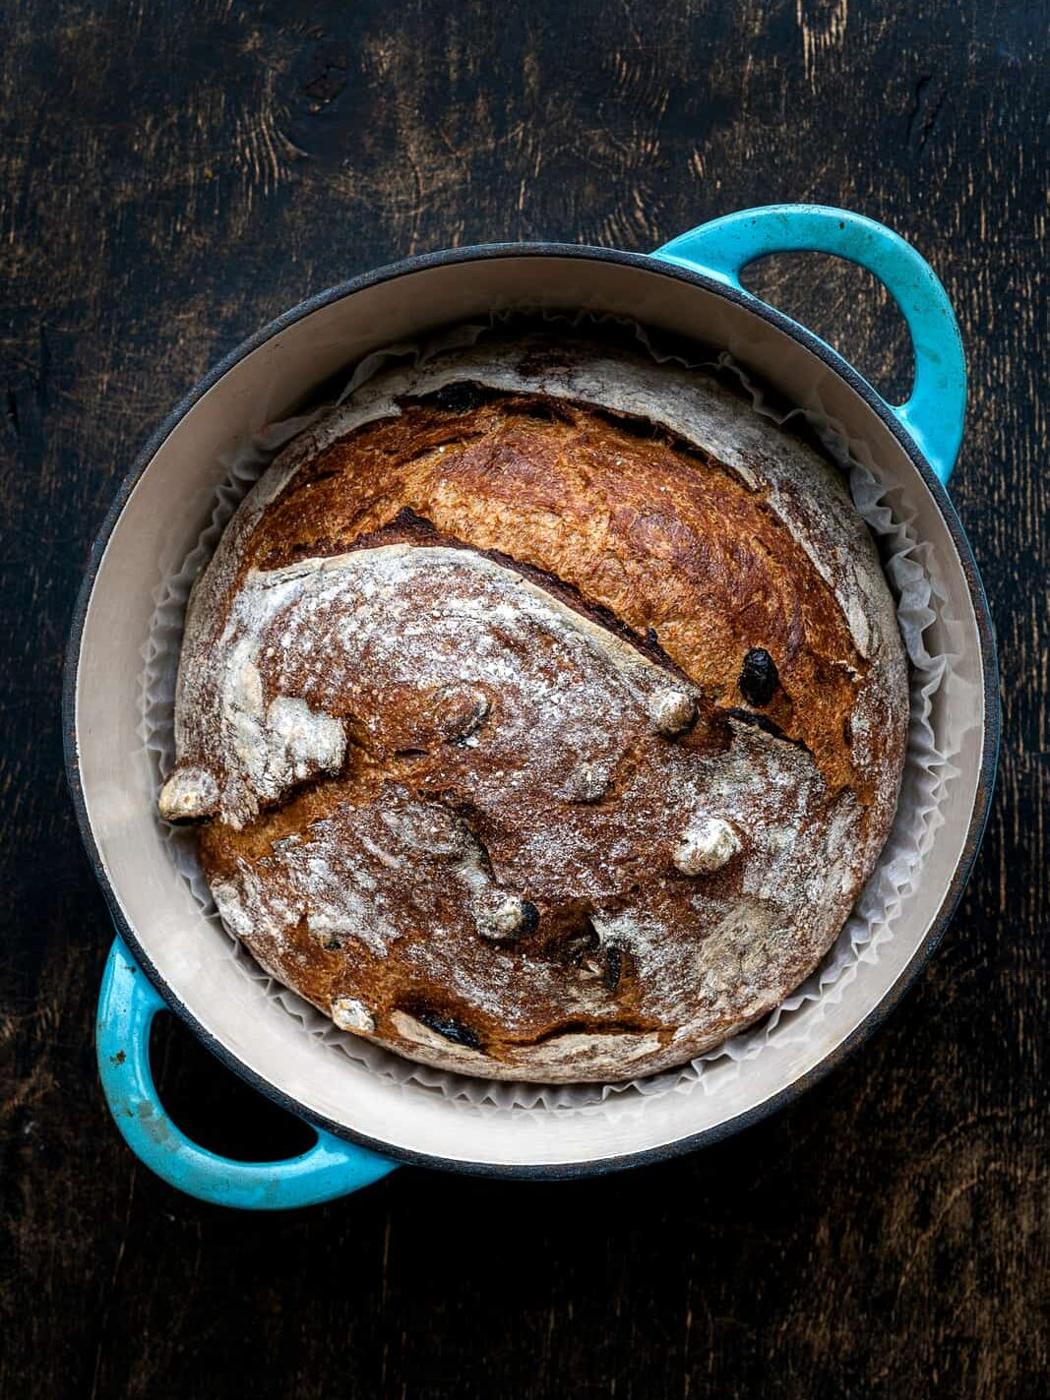
1. Internal Temperature: The most reliable way is to use an instant-read thermometer. Insert it into the center of the loaf (from the side so as not to ruin the crust). Aim for an internal temperature of 205–210°F (96–99°C) .
2. The Knock Test: Tap the bottom of the loaf — if it sounds hollow, that’s a good sign it’s done. A dull thud means it needs more time. If in doubt, bake for another 5 minutes or as needed.
Leftovers and Storage
Cover the cooled cinnamon sourdough in a clean linen towel or bread bag and store at room temperature – the bread will keep for 2-3 days. Do not slice the bread while it is still warm, even though I know how hard it is to wait!
Alternatively slice the entire loaf and freeze – that way you can just pop the bread straight into your toaster!
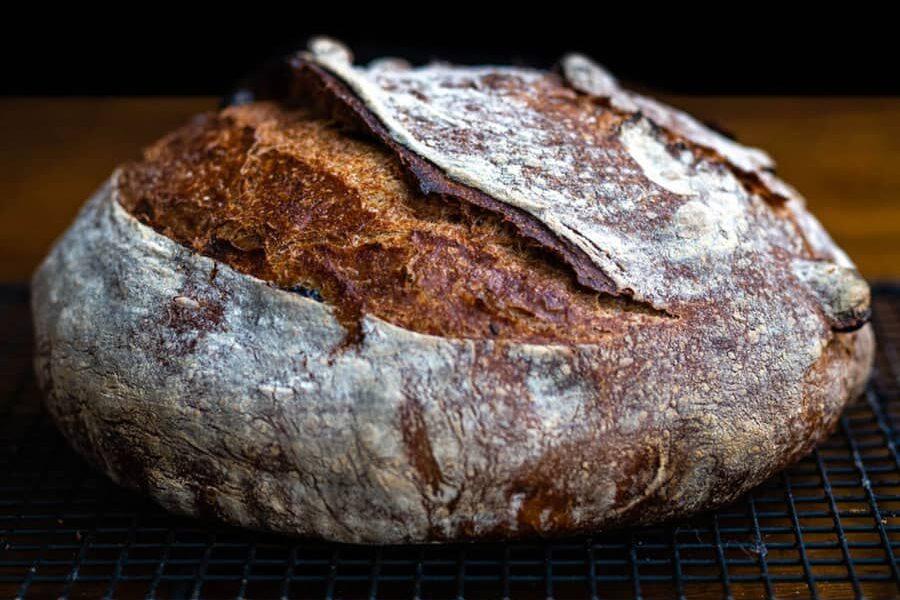
If you bake this cinnamon raisin sourdough recipe, please let me know how it turned out — I love seeing your creations! Drop a comment below,
follow me on Pinterest for more easy recipes and don’t forget to tag me on @Instagram or TikTok so I can see your creations!
Recipe
Cinnamon Raisin Sourdough Bread
This Cinnamon Raisin Sourdough is easy to make even if you are a beginner! This fragrant bread is filled with plump raisins is perfect for breakfast, spread with butter and jam or honey.
- Serves 12 slices
- Prep 10 minutes
- Cook 45 minutes
- Total 12 hours
Ingredients
For your starter
- ¼ cup (60g) mature starter (room temperature)
- ½ cup (60g) white bread flour
- ¼ cup (60g) tepid water ((filtered, bottled or boiled and cooled tap water))
For the overnight sourdough
- ½ cup + 2 tbsp (150g) active starter ((most of the starter you prepared earlier))
- 1 ¼ cups (300ml) water ((filtered, bottled or boiled and cooled tap water))
- ⅔ cup (100g) raisins
- 2 tbsp molasses (treacle)
- 2 tbsp brown sugar
- 2 tsp ground cinnamon
- 2 tsp sea salt
- 3 ¼ cups (400g) white bread flour (preferably organic)
- 1 cup (120g) spelt flour (or wholemeal flour)
- rice flour or gluten free flour (for the bowl or banetton, as needed)
Method
Feed Your Sourdough Starter
- 1
Feed 60g of active starter with 60g flour and 60g lukewarm water. Leave for 4-6 hours until doubled in size, bubbly and floating in water (float test). For best results please use a digital scale.
Prepare The Bread Dough
- 2
Measure your bubbly starter into a large mixing bowl. Pour in the water and molasses and mix wel.
- 3
Add the sugar, cinnamon, salt, molasses and raisins and mix well with the dough whisk.
- 4
Add the flour and mix well until you have a sticky, well hydrated dough. Optional: Half an hour after you mix your dough do one set of stretching and folding. Pull a section of the dough from the underside and stretch it upwards. Fold this over the rest of the dough. Rotate the bowl as you do this so you stretch the entire dough.
- 5
Transfer the dough into a rectangular container (I like a glass pyrex dish) misted with a little water. Cover and leave to rise at room temperature overnight (8-10 hours). If it is a hot night then place the dough in the fridge where it will need 10-12 hours.
Shape The Sourdough
- 6
The following day take a look at your dough – it should have almost doubled. Mist your worktop with water and scrape the dough onto it – do not punch the dough down. Gently stretch the dough to form a rectangle. Fold into three sections, like a letter.
- 7
Roll the dough into a tight ball. Flip over, seam side down, and shape into a round loaf (known as a “boule”). Use your hands and a bench scraper to roll the loaf in your hands, slightly tucking the edges under as you go (please check the video for a demo).
Second Rise
- 8
Dust the loaf with gluten free flour and gently rub over the boule. Cup the loaf in your hands and place into the prepared banetton seam up. Cover loosely with a plastic bag and leave to rise again for about an hour.
- 9
Preheat your oven to 450°F (230°C) half an hour before the end of proving. Place a lidded pot (Dutch Oven) in the oven to preheat. Tip the dough onto a round piece of baking parchment and score.
Bake your Sourdough
- 10
Remove the pot from the oven using pot holders (please be very careful as it can easily give you very bad burns, as I can testify). Carefully place the dough into the pot, lifting it by the baking paper. Cover and bake for 20 minutes.
- 11
Reduce the temperature to 425F (220C). Take the lid off the pot and cook for another 20-25 minutes. You can lift the bread out of the pot and cook directly on the oven shelf for the final 5 minutes.
- 12
Cool the bread on a wire rack for at least an hour before slicing.
Notes
USEFUL TOOLS* Digital scales are very useful when baking sourdough Bowl or banneton basket for proving the dough Lame, razor or sharp knife for scoring A cast iron pot ( Dutch Oven) or Bread Cloche to bake your loaf in Large jar for mixing your starter Spatula for mixing your starter Dough whisk for mixing bread dough Storing Sourdough Bread Cover the cooled loaf in a clean tea towel and store at room temperature – the bread will keep for 2-3 days. I prefer to slice the entire loaf and then freeze it – that way you can toast slices directly from frozen whenever the fancy takes you. CONTAINS AFFILIATE LINKS. AS AN AMAZON ASSOCIATE I EARN FROM QUALIFYING PURCHASES. FOR MORE INFORMATION, PLEASE CHECK OUT MY DISCLOSURE
Equipment
- Dough Whisk
- Sourdough Starter Jar
- Mixing Bowl
- Pyrex container
- Bread Knife
- Silicone Bread Sling
- Banneton Proofing Basket
Nutrition
- Calories198 kcal
- Carbohydrates42 g
- Protein6 g
- Fat1 g
- Saturated Fat1 g
- Sodium392 mg
- Potassium157 mg
- Fiber2 g
- Sugar3 g
- Vitamin A2 IU
- Vitamin C1 mg
- Calcium18 mg
- Iron1 mg